Adjusting Your Bicycle Brakes: The Complete Guide
If you find your brakes are too touchy lately, it might be time to adjust them. This guide will walk through the steps on how to do so oneself and make sure they work just right for whatever level of experience one has with riding a bike!
Why is it essential to adjust your bicycle brakes?
Brakes are the most important safety feature on your bike. But after all, they allow you to stop and go slower when needed — which means it’s crucial for them not only to be in good condition but also maintain that level of excellence over time so as not to force any issues with slowing down or stopping quickly during an emergency!
Your brakes should always be checked after making any changes to your bike, such as swapping out the wheels or changing handlebars. Make sure they’re still working properly by applying pressure with both feet on each pedal and releasing quickly — if something feels wrong, then stop immediately!
How to adjust bicycle breaks in simple steps?
There are two main types of brakes on bicycles:
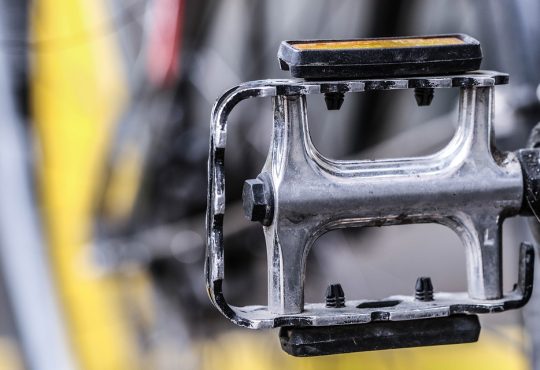
- Rims are the most popular type of bike brake because they’re easy to use and intuitive. Put your foot on one side of the object you’re trying to kick, then move it back as far as possible. When there’s no space left between that part and the object, give a gentle push outward with your leg.
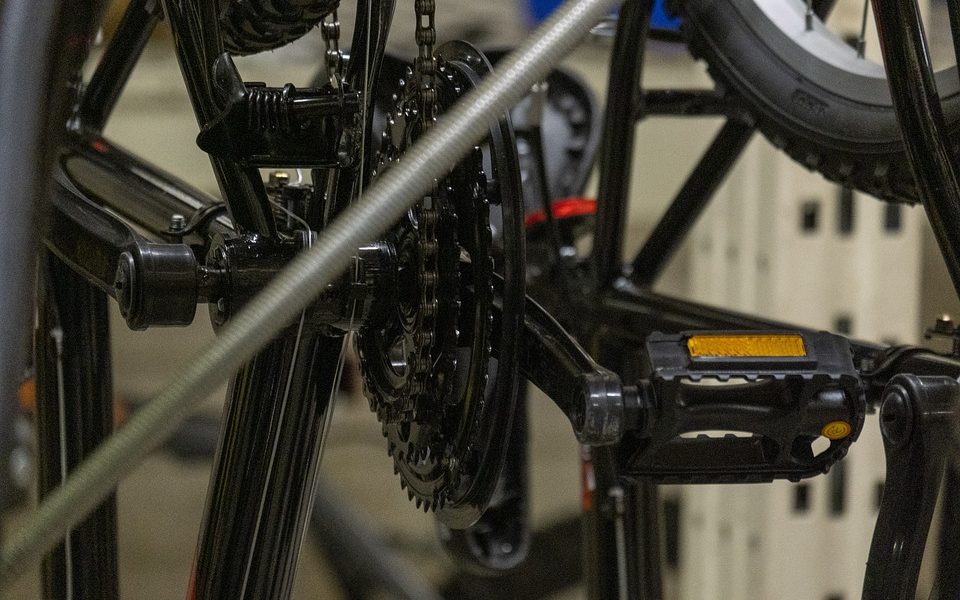
- Disc brakes are finally making their way onto bikes and they’re better for mountain bikers because of how hard you have to brake. The pads on this type of bicycle work by pressing against metal discs that go on your wheels. This is easy to do when compared with caliper-style mechanisms found in other types of road cycling bicycles.
Although the steps for adjusting both types of brakes are mostly the same, there are a few key distinctions.
Rim brakes
- Find the adjustment screws on your brakes by looking for two metal pieces that stick up from underneath them. They’ll either be located near where you grip with one hand or both hands and look like long spikes, ready to impale anything in their path if they aren’t put right away.
- Loosen the adjustment screws with a Phillips head screwdriver. It might be tight, so you may have to apply some extra pressure and twist them gently for it to work properly.
- As you squeeze the brake levers, watch as they move closer to your wheel rims.
- To test the brakes on your bike, try riding around or in a safe area. Squeeze both levers and see how well they work; if not perfectly then go back through these steps until it meets with what you’re looking for.
- Make sure to tighten the screws by turning them clockwise until they are tight enough so that there is no play in their adjustment, but not too much where you risk damaging anything.
Disc brakes
The process is pretty similar for disc brakes, but there are a few things to keep in mind:
- It’s essential to have the right tools for your bike, and that includes a disc brake pad spreader. You can usually find this special tool at any local bicycle store so make sure you’re equipped before getting started.
- To get to the brakes, remove one wheel. The rotor is in the center with pads on either side of it.
- As you use the pad spreader, it should feel like there’s an elastic band pulling them apart. You’ll know that they’re wider than before when this happens.
- It’s a good idea to check your brakes before you drive. You’ll want to make adjustments and test them again, so they work great when leaving.
- Once you are happy with the position and tightness of your pads, secure them by pushing back on each side. Use a pad spreader to push out any extra pieces that might be in the way and close the gap between the pads.
When to adjust bicycle brakes?
You should adjust your brakes whenever they start to wear down. This can happen for several reasons:
- Riding in wet or muddy conditions. Your brakes might be squealing or screeching. This is a sign that the pads need to be replaced and they won’t last as long if you don’t get them fixed soon.
- Using your brakes too much. The more you ride your bike, the quicker it’ll wear down. If it’s difficult to keep up with hills or steep slopes, then consider buying new pads every few months so as not to have any issues when riding throughout different terrains.
- Not using your brakes enough. The glazing of the pads is an issue that can arise after not being used for some time. If you find your pad has become hard and unresponsive, simply file down its surface or replace it with a new one to get back into action.
So, that’s all you need to know about adjusting bicycle brakes! We hope this guide was helpful. If you have any questions, feel free to ask us in the comments section below; we’re always happy to help. Thanks for reading!